Given my design background, it is important to me to encourage and nurture Annie’s natural creativity. What’s more, I love joining her in activities that stir nostalgic memories of my own childhood, replicating the activities and crafts I happily shared with my Art Teacher Mother.
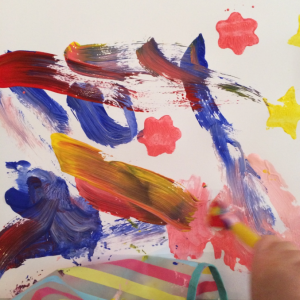
Potato printing is one such activity, and in spite of my highly-hectic-working-commuter-mum lifestyle (and breathe), prepping this quick and simple but effective activity never feels like an insurmountable task, taking just the right amount of effort to satisfy my ‘I don’t do enough with her’ mummy guilt, without tipping me over the edge into ‘why did I bother’ territory.
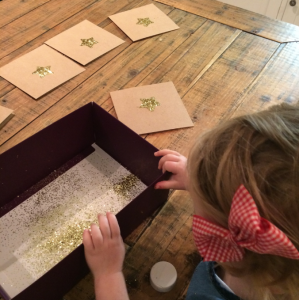
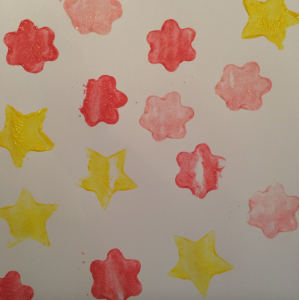
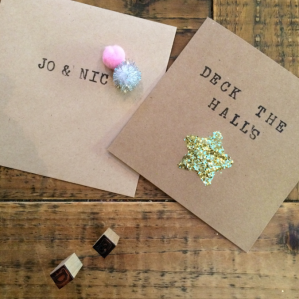
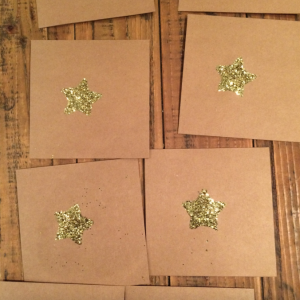
Potato printing onto paper is the best place to start out with your child, but when mastered, this basic craft can also pave the way for some pretty stylish results, allowing you to create functional products to be proud of. Case in point, these fab handmade Christmas cards using PVA glue and glitter (equally effective as birthday cards) that Annie and I knocked up for friends and family…needless to say our nearest and dearest were thrilled with our lovingly crafted offerings.
Tempted to try for yourself? To make your own potato stamps you will need…
- A potato
- Novelty cookie cutters (appropriately sized)
- Non toxic, child friendly paint (suitable for the surface you are printing on e.g paper fabric etc.
- Your chosen material to print on e.g paper, greetings card, tea towel etc.
Method
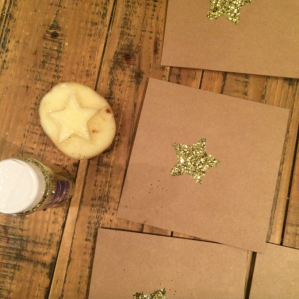
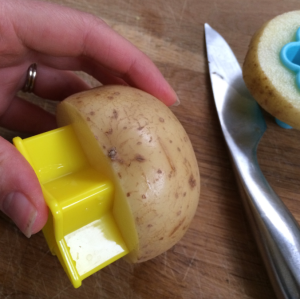
- Cut your potato in half lengthways.
- Press your cutter firmly into the centre of the potato, pushing carefully until the cutter is just over 1cm deep.
- Leaving the cutter embedded into the potato, take a pairing knife and carefully cut around the circumference of the potato, approximately 1cm down from the original cut edge.
- Remove the excess potato and the cookie cutter to reveal your stamp.
- Use a brush to paint apply paint to the stamp and away you and your mini go!

Happy crafting!